Friday 29 March 2013

TRANSOM II


TRANSOM II

WITH A LITTLE HELP FROM MY FRIENDS

Due to the encouragement and help I have received from Wayfarers around the world, I decided to forge ahead with the restoration no matter what, as nothing worthwhile doing is ever easy 


Going forward.

In the process of trying to make the decision of whether to continue a complete rebuild, or not.!  I  reached out for help to the UK Wayfarer, Wayfarer International and Wayfarer Canada Associations. The response I received was overwhelming, especially Uncle Al, from both the above, who put the word out regarding my dilemma of finding the necessary dimensions for the transom and buoyancy bulkhead.
After numerous conversations by Email, with a number of very enthusiastic wayfarer owners, I received a lot of very helpful advice and great photos from Dave Hansman of his restoration project and of his boat sailing, to keep me focused on the end product. Also some unofficial measurements and drawing of a Wooden Wayfarer transom from Kit Wallace,  member of the Wayfarer Assoc. Canada. These measurements were then compared to ascertain whether they fall within the Wayfarer class measurement rules, which they did. 


The existing transom, taken as a template directly from the boat. . 


After lofting the new measurements to full size, I compared it, insitu on my Wayfarer, and is quite different to the transom of my boat

The new template was lined up to the centreline of the hull and level to where the sheer ends. The existing transom is below where it should be and the keel line is off centre. I think that this is the result of the absent inner keel and hence the hogging of the hull aft. In addition, it would have been impossible to replace the bottom planks in the stern of the boat without accurate frame sections aft of the midships floor and the aft buoyancy bulkhead, which is crucial for retaining the shape of the hull aft.    


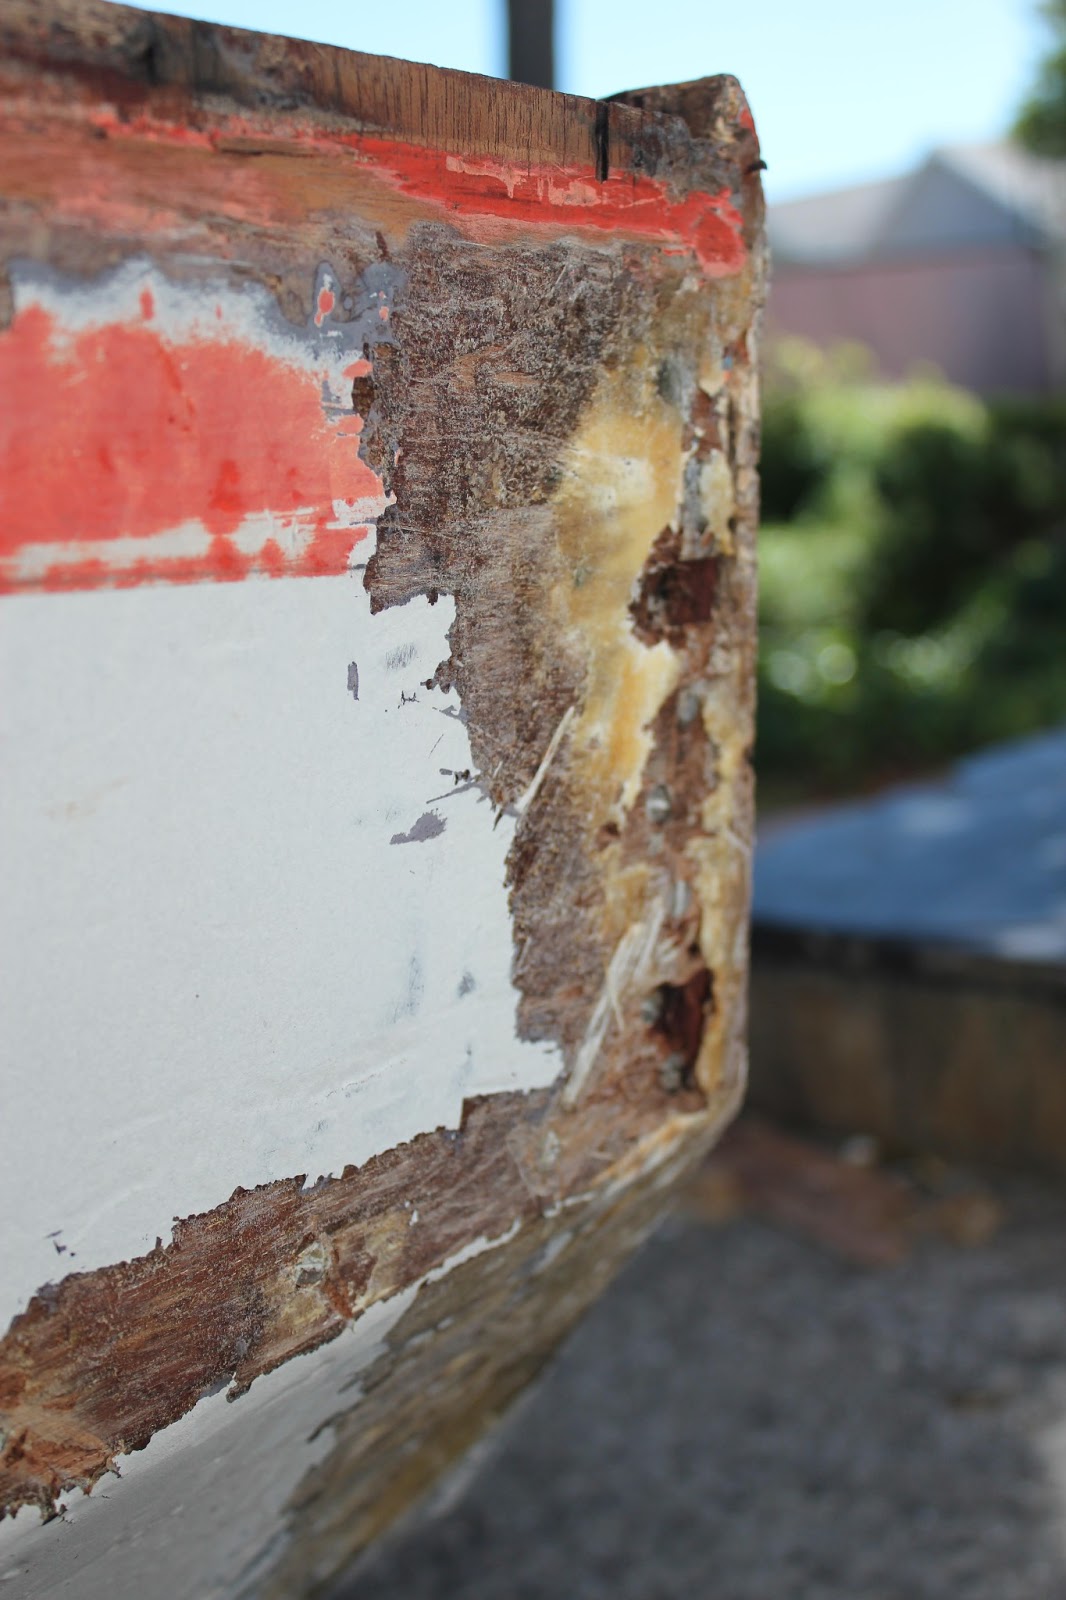
To find out from where the bottom planking was replaced, I removed paint from the transom forward and as far as the middle of the centreboard case, to where there is a butt joint.  The wood is in a almost new condition.


I think that the boat was neglected for years in someone`s back yard with water in it. The bottom, hog, buoyancy locker bulkhead and transom was probably unserviceable.

I had another look at the trim of the panels aft and compared them to the drawing, they are definitely to length as the holes for the transom frame are all there and the new transom has been bonded to the outside with epoxy and f/glass cloth.


The hull planking along the upper and lower chines of the hull and transom area seem to be undisturbed and is as from the first build.? The hood end measurements are very close to the new drawing, so it should not be a problem. The only difference is that the planking was pulled inwards to accommodate the more upright transom sides. I removed the F/glass tape around the planking securing the transom to outside of the plank ends and the planking sprang outwards and should therefore conform to the original flare to the sheer and chines.


Resolution.

  1. The only way to correct the hull asymmetrically is to revise my project to do list:
  2. Repair the port side upper chine planking
  3. Replace the port side gunwale.
  4. Frame up and support the crucial frame areas such as the buoyancy bulkhead and transom.
  5. Turn the hull upside down.
  6. Remove the existing bottom planking.
  7. Remove the outer keel.
  8. Re-establish the correct centreline of the hull.
  9. Align the stringers along the hull to the correct position aft
  10. Replace or scarph in a new hog.
  11. Replace the bottom planking
  12. Seal and paint the bottom of the hull.


Acknowledgements

My grateful thanks are due to all the friends, from all the the Wayfarer Associations listed on the links section, without whom this restoration project would have become just another wooden boat repair, rather than being a fully restored Wayfarer.

I know now, that the only way forward no matter how, is that this boat will be a Wayfarer, as close as it gets.


Sunday 17 March 2013

SHAPE AND FORM

IT LOOKS LIKE A DUCK, BUT IS IT A DUCK ?

There is no official  Class measurement certificate for this boat in existence, and the registration number, usually carved on the transom fashion timbers has long gone to dust, I thought it will be prudent to at least measure the boat to see how close it is to the Class measurements.


I downloaded the Class measurement forms for the wooden Wayfarer, from the +UK Wayfarer Association web site. This was very helpful to establish what changes, if any the hull underwent during the last 50 years of use and including the past repair / rebuild. This will also ensure that the hull will remain a Wayfarer as designed, when the hull has been reduced to a skeleton of frames and stringers.


Although these measurements are of value in establishing the overall dimensions of the boat within the class rules, it does not give the necessary offsets to enable components to be made. that no longer exist in this hull. IE: The transom shape and the distance of the lower rudder pintail from the bottom of the transom/keel ?

 TRANSOM

The one component that is the most problematic in the hull is the Transom, It is becoming clear that before the last restoration. the floor area aft of the centreboard case was the most damaged, hence the absence of the Hog and repair to the aft floor area. The aft buoyancy compartment also went and the transom was re- fashioned to fit and replaced. 

Taking the measurements of the beam and stringers from the buoyancy bulkhead aft, all measured up to within the Class measurements, however the Transom was quite different and as described previously a number of components were missing.
  1. The top of the transom ended more or less straight across from sheer to sheer.
  2. The Rudder is placed to high.
  3. There is no fashion timber framing.
  4. The shape of the transom is not symmetrical.?
Measuring the length from bow to outside the transom, this distance is longer than the class measurement by 18 mm (3/4"), and I noticed that the transom is placed on the outboard end of the plank ends, thereby increasing the overall length of the hull by the thickness of the transom 18 mm.

TRANSOM SHAPE

The fist thing to do, was to adjust the rudder to the correct height, this I deduced by setting up the rudder by looking at where the rudder would be the most efficient in the water and also by guesstimating the lower distance of pintal from the keel.


Taking off the shape of the transom directly from the boat, enabled me to fashion a template.


Camber of Transom

This was established by vertical measurement from the keel to above the rudder for the tiller clearance.


Using a limber batten a fair curve was struck, by extending the batten on either side of the sheer points.


This is the final template of the Transom, it can be seen that the right side of the drawing is longer athawrtships than on the right, not symmetrical. So, which side is correct, if at all ?

The cut out for the tiller was done by eye and is not accurate to the Wayfarer original design.


BRACING FRAMES

At this stage, I decided  to start bracing the hull as to retain the shape that fall within the class rules.


First, the broken knees had to be repaired or replaced. 


Athwartship braces in place


TRANSVERSE SECTIONS 

Making the transverse sections may be done by connecting  all the knees, floor points and in between the stringers. These were made from 4 mm scrap ply and can be glued together with either a hot glue gun or ordinary PVA glue.

These will be used as an template for the more substantial framing sections or moulds 


SETTING UP

Before the planking can removed, the hull shape has to be secured by bracing sections at every knee and floor web frame.

When the boat was built these section frames were supplied together with the strong back for setting up the hull before planking could commence. These temporary frames had then either be destroyed or was sent back to the licence holder.

There were 3 full frames that remained in the boat, the forward bulkhead, the aft buoyancy bulkhead and the transom.

The only original full frame in the hull currently is the forward bulkhead. The Transom is incorrect and can not be relied on to give an accurate shape to the aft of the hull when set up upside down and all the planking removed.


HOW TO GO FORWARD ?

The big question is, how to progress from here, as there are no offset measurements available for the body plan, usually taken from the centreline to the outside of the planking.

I am not sure whether to continue with a complete rebuild at this stage, as it will be the same result, with the aft portion of the hull being inaccurate at best or banana shaped at worst ? 


False Bay 15 min. from my home.
View from Kalk Bay looking towards  Fish Hoek, - The migratory cruising ground of the Great White Shark


Saturday 9 March 2013

The whole Hog


It is disappointing, that with every step of discovery, getting the boat on the water and sailing, advances further into the future. This creates a push/pull tension where I want to maintain the craftsmanship of wooden boat building technique and keep the integrity of the wayfarer, but I am also impatient to go sailing.

This was further reiterated by accepting the inevitable, that this project has escalated into a total rebuild. The final straw came when I realised that a major component was missing from the hull. The Hog ( inner keel ) was cut off 100 mm aft of the centreboard case and was removed from there, aft to the transom. - Probably due to the earlier state of damage.

Up until now this little omission has been ignored due to the fact that I knew what it meant, and I hoped that it could be resolved in some way without rebuilding the entire hull, re-planking , removing outer keel, centreboard case etc.


The missing part of the Hog can be seen, cut off aft of the centreboard case.


In  this earlier picture, before the side decks were removed, the repair to the bottom panel and the missing inner keel the can be clearly seen


A solution was considered by laminating and somehow bracing a inner keel in place from the centreboard case aft and this may have worked if I had not looked under the hull, only to find that from the centreboard case aft, the hull had hogged, - drooping down by the stern.


Not obvious to see, however any sort of downward pressure on the top of the transom made it worse.


One thing I do know is, that in all wooden boats, the centre line timbers are very important and the inner keel foremost, as all the frames, floors and bottom planking hangs on that timber. 

The only way to replace the hog is to rebuild the hull completely going back to the the first steps of setting up the framing and placing a new  inner keel.


Acceptance is halfway to happiness !


The Wayfarer is such a special sailing boat that I owe it to Ian Proctor who designed such a superb master piece and all the old skilled wooden boat craftsman of the past, to preserve this boat as it was originally built.

In this age of instant gratification it would be easy to just fix it up and go, yes, I will lose out on the cost to benefit ratios etc, however as a craftsman I cannot live with the thought that I could have done it the right way and better.


Sunday 3 March 2013

Old wounds


As I remove more and more dressings to reveal the wounds sustained over a 50 year lifespan, it is becoming clear that I have to find acceptance in that it is going to be a long while before we can go sailing.

This is something that everyone who restores an old wooden boat, will have come to terms with.

In order to decide if the top chine plank needed to be replaced, I started to peel off the Glass fibre over the repair to the damaged port side, as there was already evidence of delamination along the sheer. The patch was chopped strand mat and polyester resin, this peeled off easy with the help of a palette knife and the whole operation took about 10 minutes, this proved to me that Glass fibre chopped strand mat and Polyester is not a very strong bond to wood. It may be a short term repair solution but in the long term it will have to be addressed again.


Delamination can be seen on the right


This was a neatly done plywood repair.


Stern to Transom area


 Removing the Glass fibre bond around the Transom. This was Glass fibre cloth bonded with epoxy and not easily removed, however with a hot air gun it came away with no trouble.


It is obvious to me that the boat was telling me that a new topside plank was needed, therefore  decision made!